This week, a poured concrete patio turns a decaying patio into an outdoor living space this homeowner can truly love.
Gretchen Bayley lives alone in her mid-century home, but the house is always full of friends and family. We’re transforming her old, crumbling patio into an outdoor living space to give her more room to entertain.
The Projects
Prepare for Poured Concrete Patio
A large, poured concrete patio is a project best left to the professionals, but prepping the area and creating the forms can be done yourself.
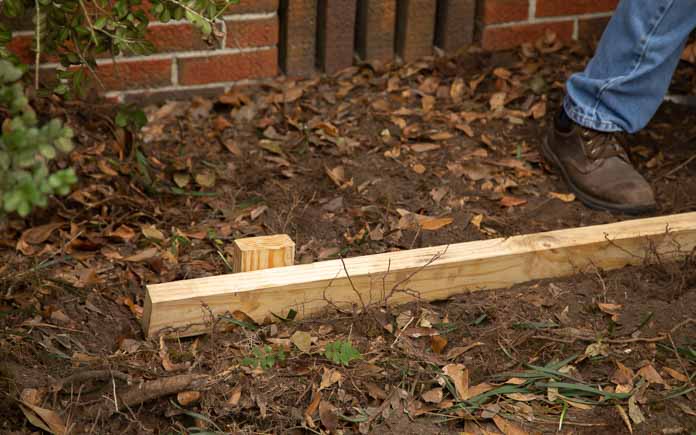
First, frame the area 12-by-23-foot area with 2-by-4s. Place the boards level with the existing carport concrete slab, then slope slightly downward so water will flow away from the carport.
Use a framing square to ensure each corner is at a 90-degree angle. To keep the form boards in place, screw them to evenly spaced wooden 2-by-4 stakes.
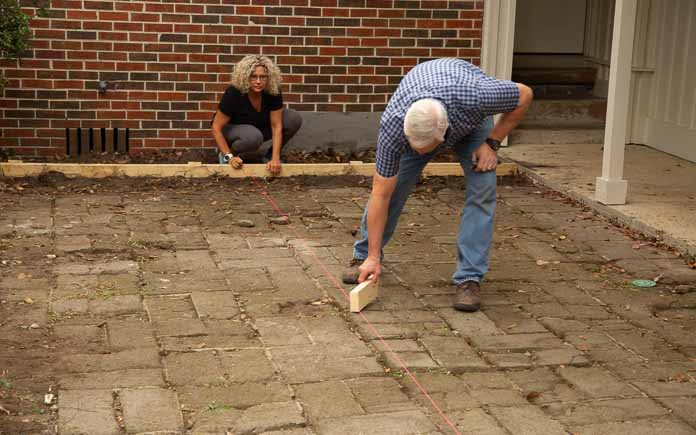
Once the final form board is installed, check the depth across the space to ensure there’s enough depth to use the old patio as a foundation and pour the new slab directly over it.
(Because the pavers are below the top edge of the carport concrete slab, we don’t need to dig them up.)
Finally, lay the reinforcement wire.
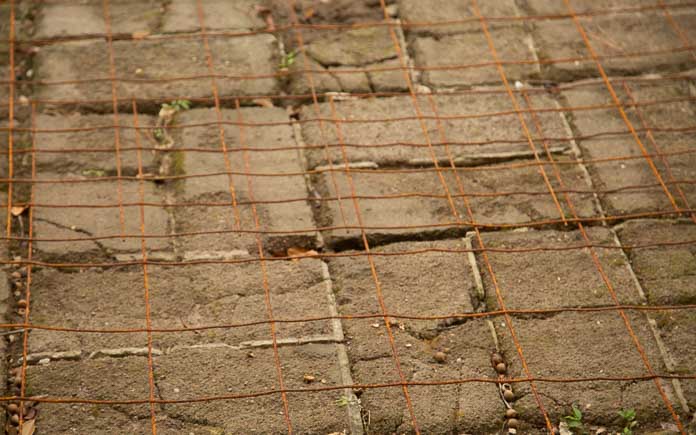
Once the forms are complete, a professional concrete finisher pours the slab. As the forms fill up, we tap the outside of them to release the air bubbles trapped in the concrete.
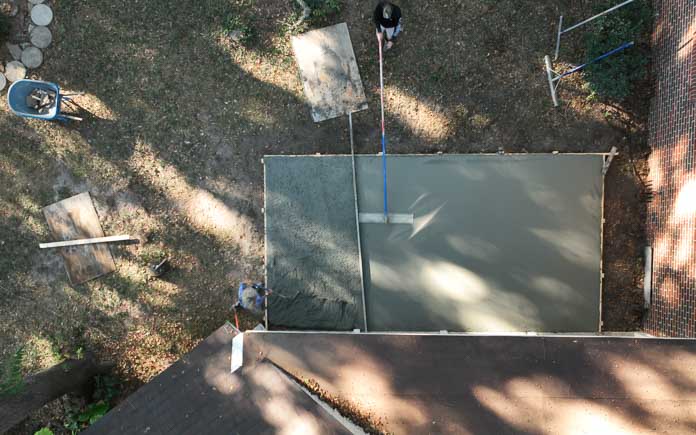
The concrete finisher uses special tools to smooth the top of the slab and create expansion joint lines to prevent cracking.
Once the concrete has cured for a bit, we drag a broom over it to create a textured finish.
Add Picket Fence Panels
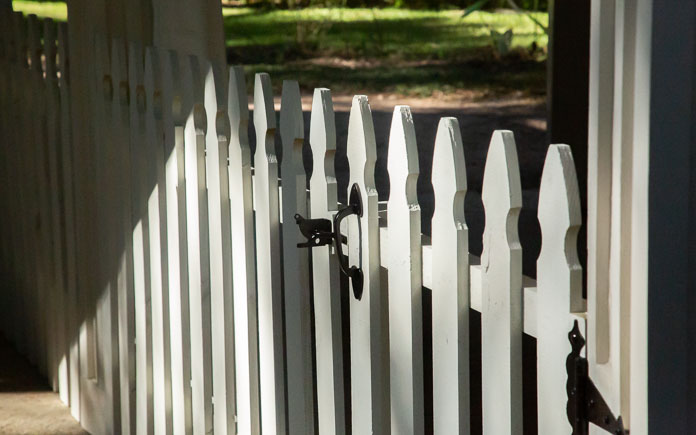
Gretchen’s improvised roll fencing serves its purpose of containing her dogs in the backyard, but it’s not pretty. So, we’re adding some prettier (and sturdier) white picket fence panels.
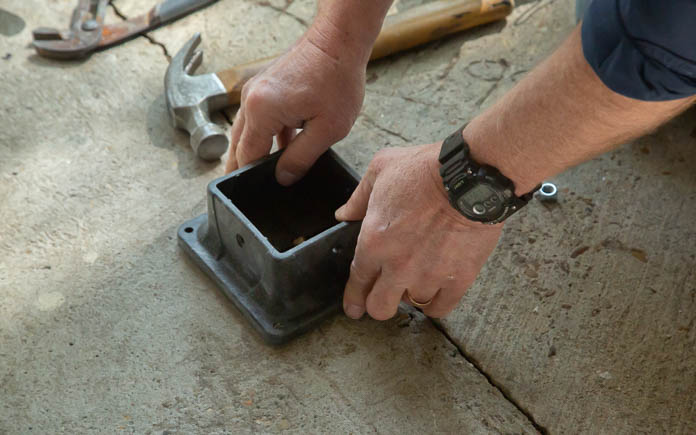
Instead of using a zip tie to keep the fence closed, we’re adding a gate at the corner of the carport to offer easier access to the new patio. To secure the post for the gate, we place it in a post anchor that can be drilled into the concrete.
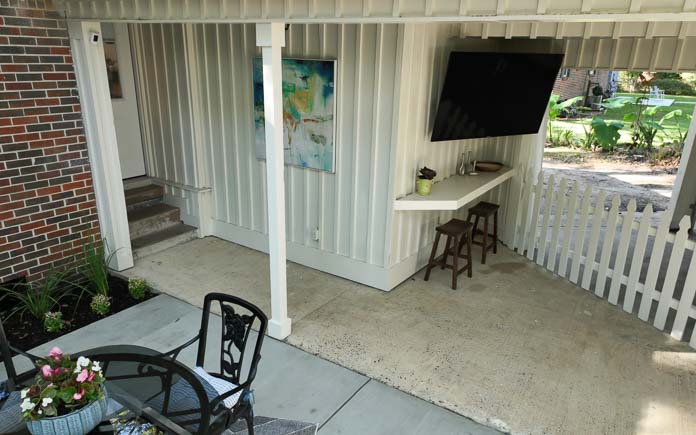
Create Entertainment Area
Two large, empty shelves are wasting space in Gretchen’s carport. So, we remove the top one to make room for an outdoor TV and use the bottom one for bar seating.
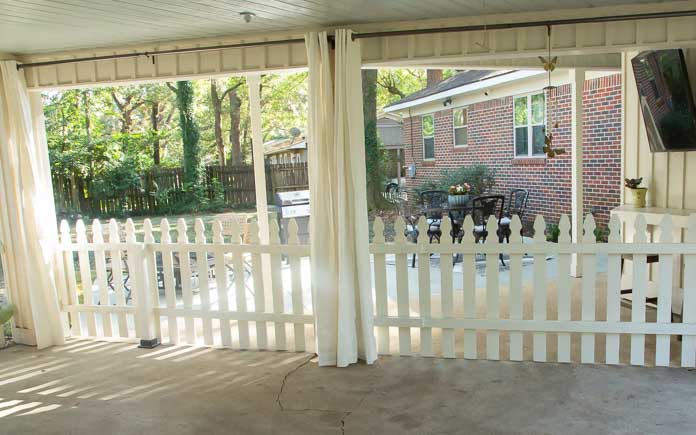
To create even more separation between the carport and the new outdoor entertainment area, Chelsea hangs drop-cloth curtains.
The curtains not only add some extra texture to the space but they also can be closed to hide Gretchen’s car when she’s entertaining.
Watch: How to Dye Drop Cloths for Patio Curtains
We also:
- Spray-painted the firepit and grill
- Removed extra column

Post-Production Thoughts
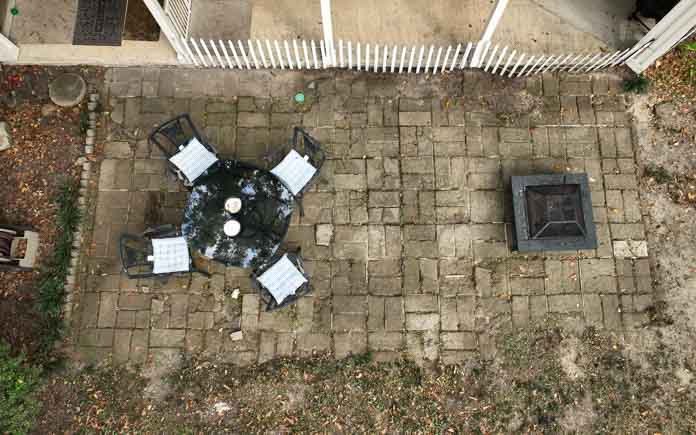
Even though it was a good size, Gretchen’s patio was decades past its prime. The crumbling pavers were more than unattractive — they were downright dangerous.
The roll fencing added along the edge to contain the dogs wasn’t helping the look of the space either. There was nothing about this outdoor living space that invited you to enjoy the spacious backyard.
But now, the new poured concrete patio that replaced the old patio is both stable and attractive. Its clean edges clearly define the space, while it flows almost seamlessly into the existing covered area.
The new fence suits the yard perfectly and its new location creates the ideal boundary between the carport and the covered patio area.
Chelsea’s curtains help reinforce that line while they soften the edges and add refinement. What was an overbuilt shelf has become a modest bar top and the refurbished patio furniture creates plenty of comfortable seating to enjoy the expansive backyard.
Other Tips From This Episode
Products Featured in This Episode
This page contains affiliate links. If you purchase a product from these links, we will earn a small commission at no additional cost to you.
More Inspiration


